Symmetry
Allows user to flip selected element(s) or a complete pattern piece on an axis defined by two reference points.
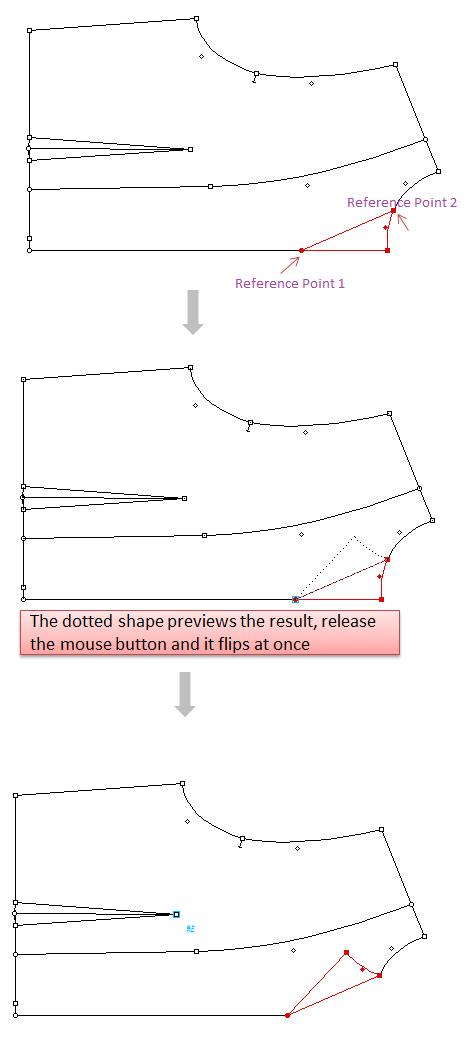
Apply symmetry by two clicks
- Select the element(s);
- Select
- Click a first reference point;
- Click a second reference point and hold down the left mouse button (Windows / Linux) or the mouse button (Macintosh), it previews an image of the symmetry piece. A line represents the symmetry axis appears.
- Move the line to the desired symmetry axis and release the button.
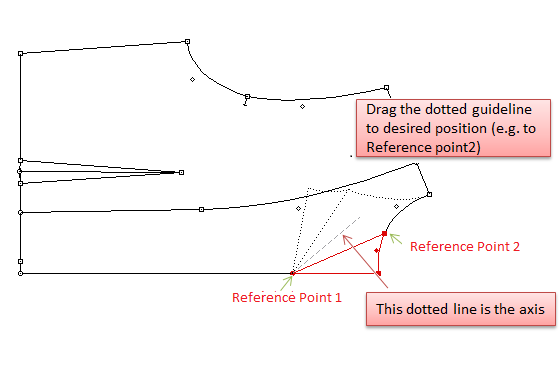
Apply symmetry by one click
- Select the element(s);
- Select
- Click the first reference point and hold down the left mouse button (Windows / Linux) or the mouse button (Macintosh), then drag to the second reference point. It previews an image of the symmetry piece;
備註
You can check the angle value on the info bar while holding down or move a point.

Hold down Shift key to constrain the symmetry axis in either the X or Y axis, or 15°. (Define the angle by the setting [Round Angle] in the Preference menu)
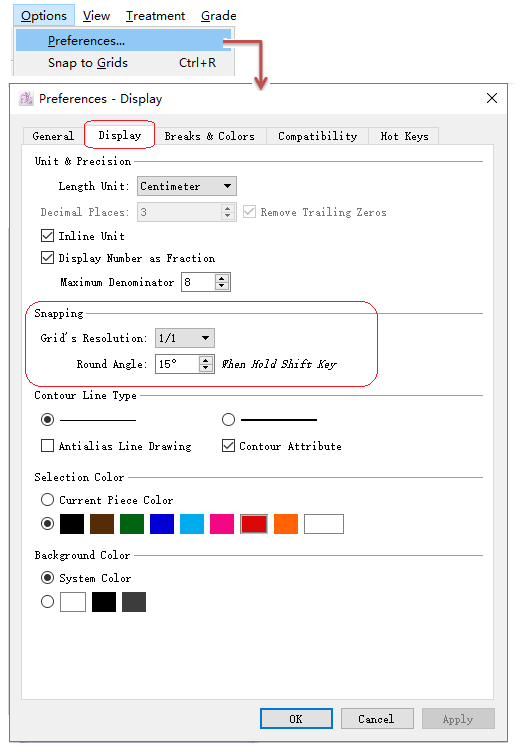
Select [Snap to Grid] item, in the [Options] menu, to move elements according to the active grid.
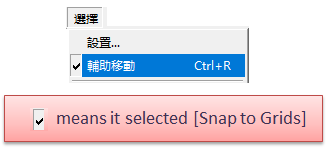
For more information about [Snap to Grid], please refer to the [Options] menu, select Preference and Display section.
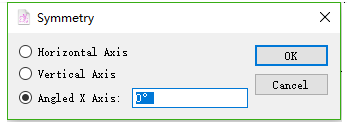
Apply symmetry by entering precise values
Select the element(s);
Select
Hold down Alt (Windows) or Option (Macintosh) or Alt+Windows (Linux) key and click anywhere on the working area;
Enter values in dialog box, click [OK] button.