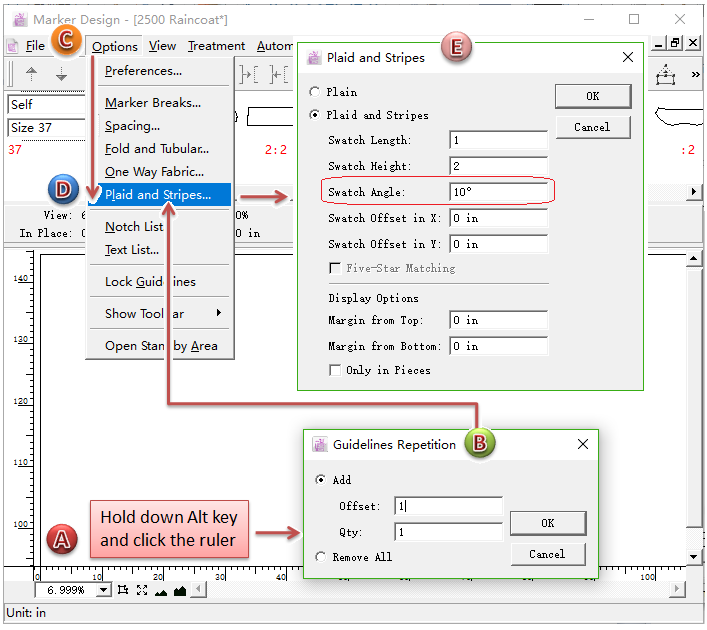
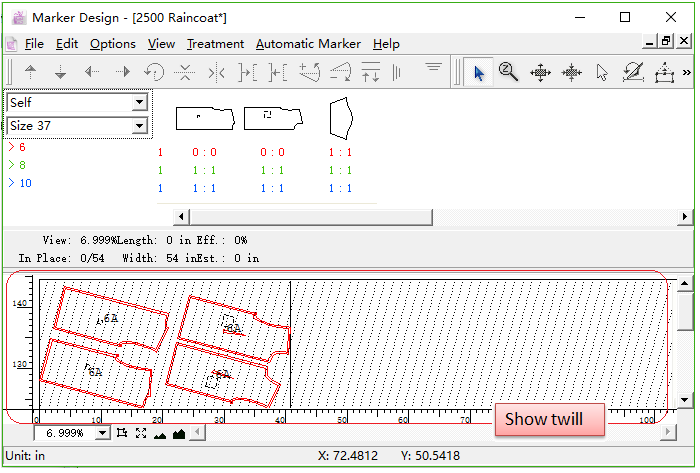
Add [Swatch Angle] to set twill
Allow users to simulate the twill in simulation area by setting [Swatch Angle] under menu [Plaid and Stripes].
How to do:
Holding down Alt key (Windows) or Option key (Macintosh) and left-click the ruler, dialog box appears, create at least one guideline;
Click menu [Option] - [Plaid and Stripes…], enter the values of [Swatch Length], [Swatch Height] and [Swatch Angle], then click [OK] button.
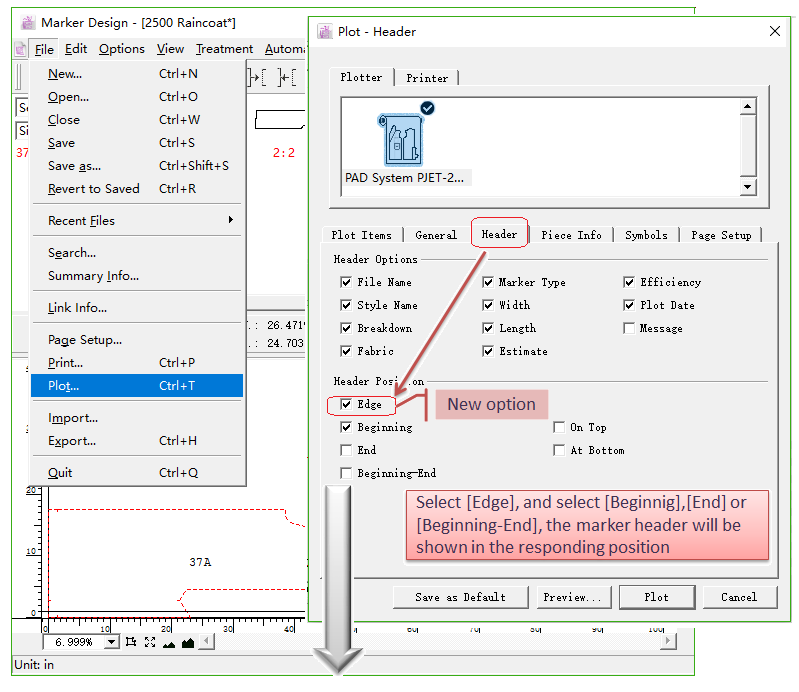
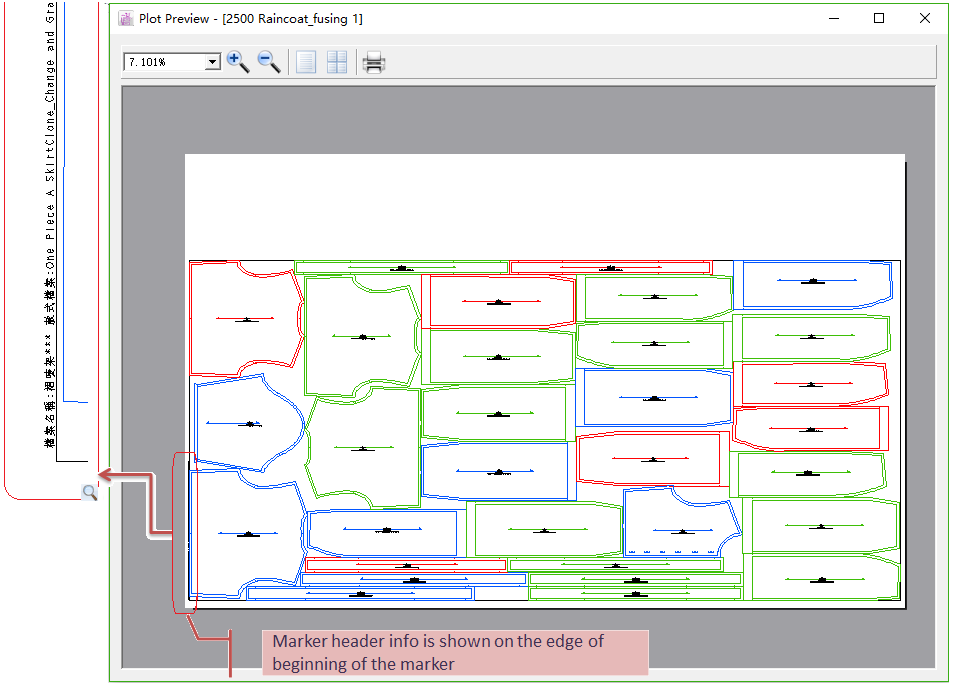
Add Option [Edge] for Marker Header
Allow users to set the marker header showing on the edge, which helps to save paper.
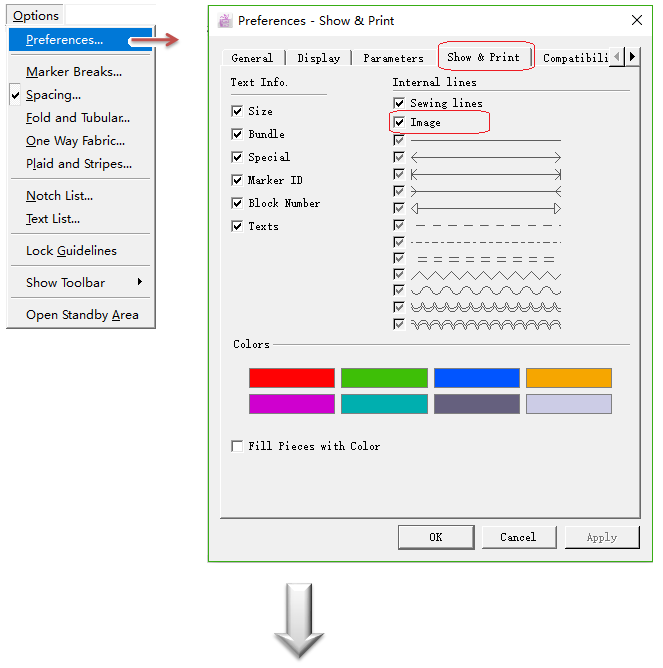
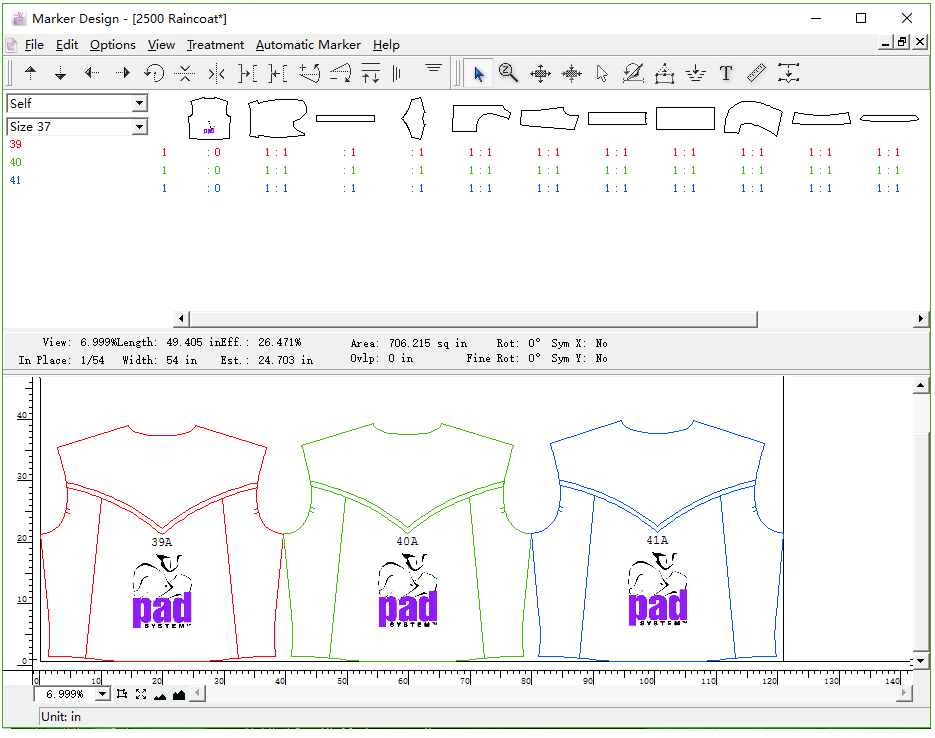
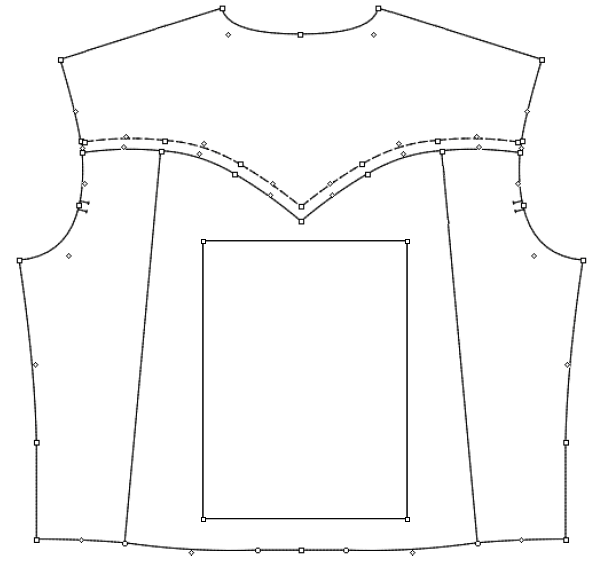
Add Some Function for Image on the Piece
Allow users to show images added on desired piece in the simulation area.
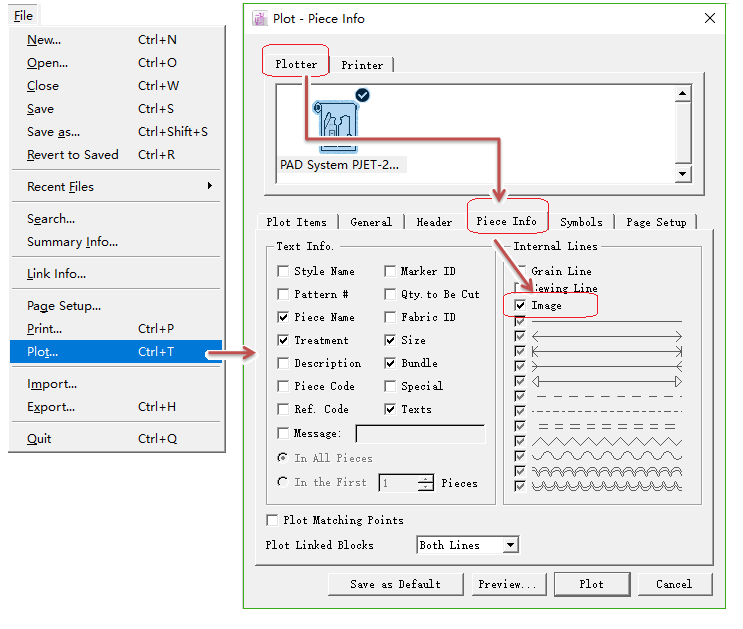
Click menu [Options] - [Preferences] to open dialog box. Click [Show & Print] and select [Image].
Note
Pattern file and image file need to be in the same directory. When users use the pattern file to build new marker, it will check if the pattern file contains images and read them automatically.
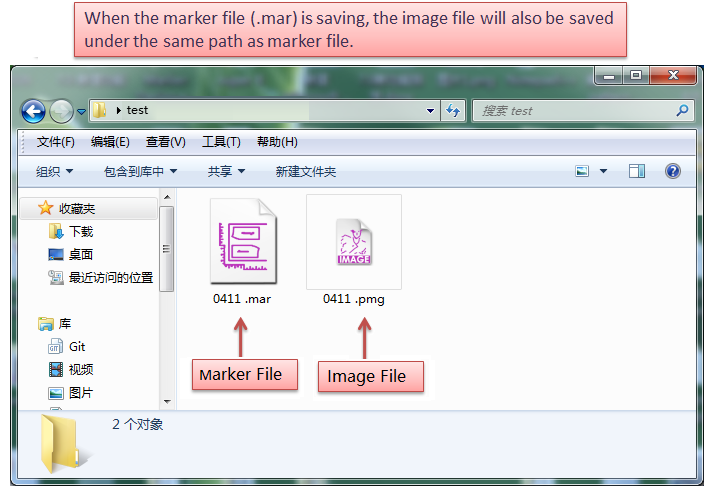
Save image file
When you save the marker file (.mar), the image will also be save under the same path (marker file and image file are saved in the same directory). Image format is .pmg, shown as following picture:
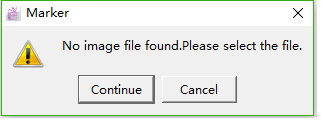
Missing image file
If:
change the name of marker file (.mar );
change the name of image file (.pmg);
the marker file (.mar) and image file (.pmg) are in different path (Error moving file or lost sending file);
then it will miss the image file (that’s to say, fail to read corresponding image file while open the marker file), dialog box appears:
Continue - select image file manually;
Cancle - close dialog box, and replace the image with a rectangle shape.
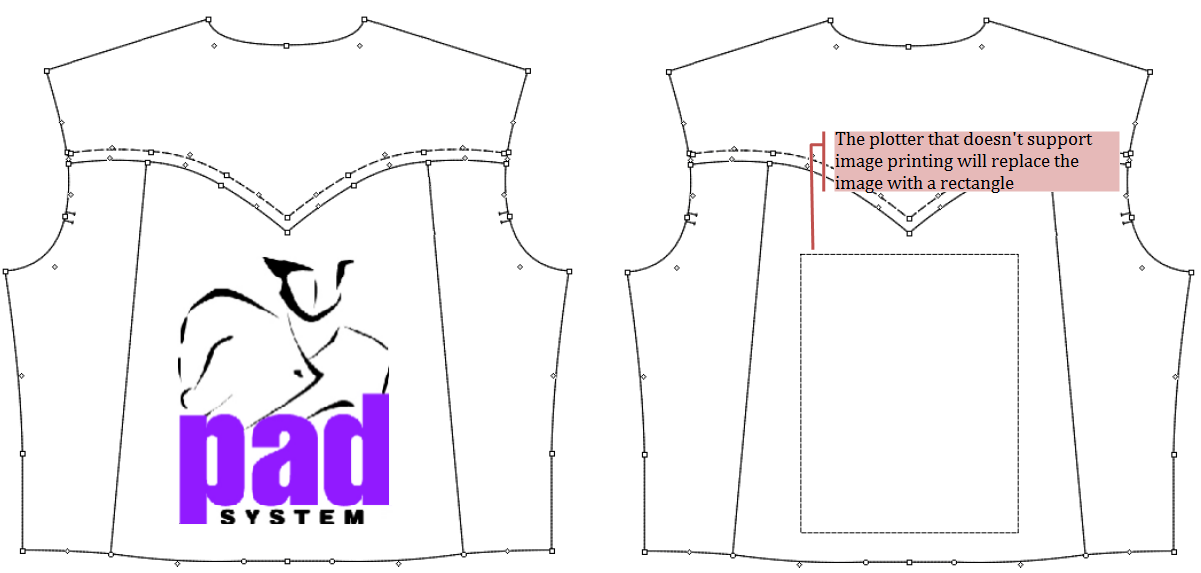
Export the pattern file with images as other formats
Export the pattern file with image as other formats, like DXF-AAMA, DXF-ASTM, Illustrator (.txt), Plotting File (.plt). Then the image will be shown as rectangle:
Print image
Allow users to print the image while print the marker file.
Note
Now PAD OEM Plotter & HP (Hewlett Packard) Printer can print the pattern piece and its images. Other printer or plotter can print its frame only.
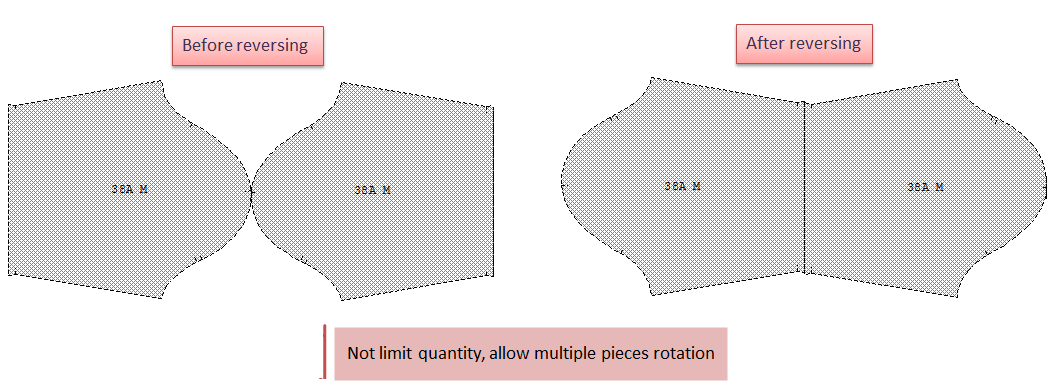
Enhance Rotate Tool  
Allow users to rotate the selected piece(s).
Select the desired piece(s) in the simulation area;
Click to choose Rotate Tool
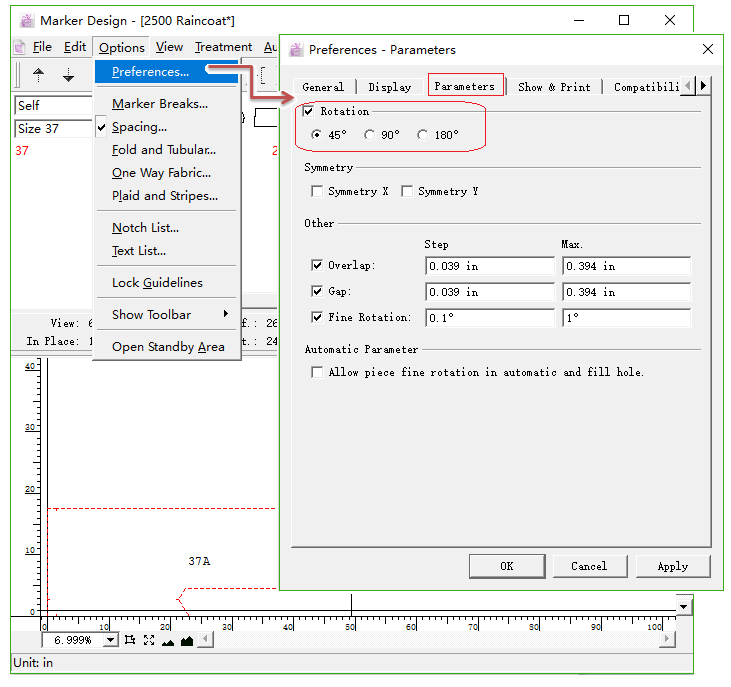
Note
Allow you to set the rotation angle under the menu [Option] - [Preferences] - [Parameters]. The selectable angles are: 45°, 90° and 180°.
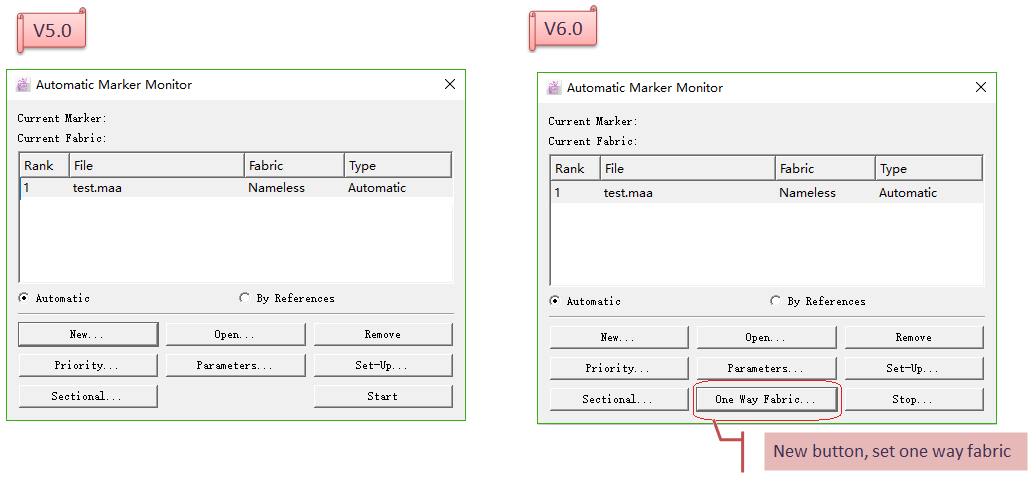
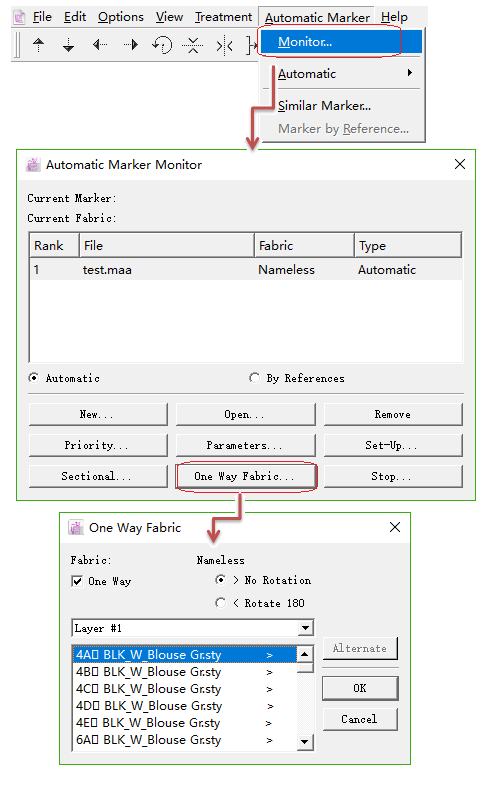
Enhance [Automatic Marker: Monitor]
Allow users to set One Way Fabric.
How to do:
Click menu [Automatic Marker] - [Monitor], the dialog box appears:
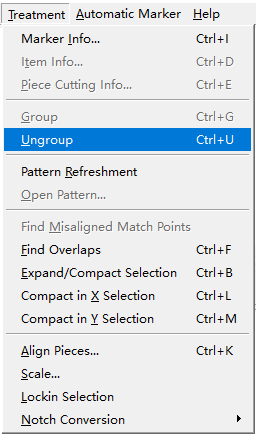
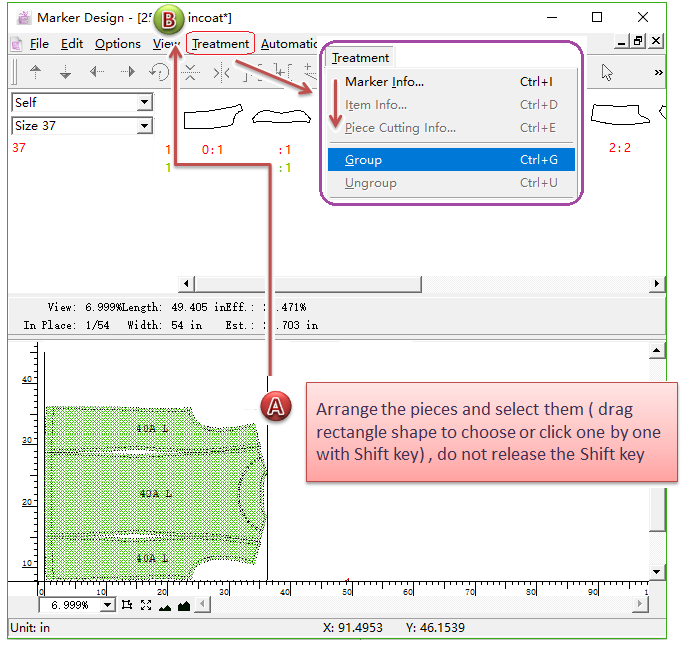
Enhance Group/Ungroup
Allow users to group or ungroup desired pieces of all sizes. (That’s to say, make a size of pieces as a group, then the group will be applied on all sizes. The pieces of all sizes will be grouped or ungrouped, which simplify the operation. )
Note
In V5.0, it only group/ungroup single size of piece, if users want to group/ungroup other sizes of pieces, they need to repeat the former steps. In V6.0, it gets enhanced. It can group/ungroup all sizes of pieces at one time with holding down Shift key.
Group pieces
How to do:
Select the pieces need to be grouped in the simulation area (the pieces need to be pre-arranged);
Hold down the Shift key, click menu [Treatment] - [Group];
The selected pieces are made as a group, and it will apply on all sizes.
Ungroup piece
How to do:
Select the desired grouped piece;
Hold down the Shift key, click menu [Treatment] - [Ungroup];
The selected pieces are ungrouped, and it will apply on all sizes.